


I hadn't planned on making a Leela cosplay, but a friend suggested a Futurama cosplay for me, and I thought Leela would be fun challenge. I'd never done much with wigs before, and constructing a cyclops eye that looked less cartoony intrigued me. Plus, I figured it'd be pretty easy to do, and comfortable to boot!
It was easy to find source material, so I started working on the wig while I binge watched Futurama.

I purchased a Ferrari wig & long weft from Arda Wigs in Electric Purple. I really dug the color and needed a wig with wefts long enough that I could restructure into a pony tail wig. Why didn't I just buy a pony tail wig, you ask? Because the ponytails sat too low on my head to do Leela justice!
First I had to measure my head and add some padding to my wig head to make sure my wig wouldn't be too small for my head. Then I put the wig back on the head and pinned it down so I could set the size of the wig.


Next came the tedious task of re-wefting the wig. Essentially, wigs are constructed to the fibers lay in whatever direction the hair falls on a wig. Generally, wigs are made with the fibers pointing down. As you can see in the picture below, this wig was no different. The large lace area on the left is the crown in the head, and the wefts are the vertical tan colored rows. The horizontal rows are elastic lace that hold the wig together and helps it to conform to your head.

To re-weft the wig, I used a seam ripper, curved needle, and thread in the desired color. First, I would separate the weft from the rest of the hair, and then I separated the wefts from the elastic by seam ripping the stitches out.


Once I had separated the weft and ripped the seams out, the weft was free to be moved around. I'd flip the weft so the hair was pointing up, and then carefully sew it back onto the elastic guides. I found as I went that I could cut out parts of the wefts because the wig would have been too poofy and too heavy once all the wefts were pointing up. So I left a few inches on the edges of the wig (where I'd need the most coverage), and would cut out the middle portion of every other row.


That part took forever. FOR-EV-ERRRR.
Remember that from the Sandlot? It was like that.
Once that was all done, then it was time to construct the ponytail part by "stubbing" the wig. I'd take sections of the wefts at a time and gather them up into a ponytail at the top of the head. I'd tie a cut up hairband to the base of the hair, and then chop off everything over 2". Cut up hairbands worked perfectly because tying them around he hair stub was way easier than using them like normal and twisting around to pull the hair through.


Then it was time for the glue! I used clear waterproof window caulk to glue the strands together. Basically, you squirt some into the wig fibers at the stub, and massage it through to make sure all the fibers are saturated. I wrapped thread around the top part of the stub to keep it together while it dried.


I learned two important things doing this: wear gloves when working with caulk; and make sure you have a caulking gun if you buy the usual tube of it! I didn't have a caulking gun, and was too stubborn to buy one. I ended up pulling the cap off the back of the tube and scooping it out and onto the wig.
After stubbing the wig, I put glue on the package of long weft (I curled it in a spiral first), and stuck it on the stub I had constructed. Then I coated caulk onto a few layers of wig fibers I had cut off while stubbing the wig and wrapped that around the base where the stub meets the long wefts so it would look nice and neat.
I couldn't take pictures sadly, because I had caulk everywhere! Including on my dog. She's such a good sport. I was afraid I'd ruin my phone, so the next picture I got was of me in my newly constructed wig! It's awesome and I love it.

Time to construct the cyclops eye! I had originally planned on cutting up a 2 liter bottle, and heat forming the plastic into a visor. This did not work as planned. I poked myself in the eye, and learned that soda bottle plastic does not like to be heat formed. Cyclops eye: 2, Julie: 0.
Time for Plan B. I worked on making the eye out of craft foam, nail polish and an old pair of false eyelashes. To make the eyelashes look right, I cut up both strips of falsies and "glued" each clump together in a way that made sense. I didn't actually use glue, I used black fabric paint so I wouldn't have to glue, then paint the lash line.


While the eye dried, I used floral wire to construct a visor that fit on my head. I covered the wire frame with pantyhose I had cut up to make it so I could see (sorta) out of it, without needing to resort to buying white contacts also. The result was that the visor would hold its shape without even needing earpieces to hold it up. I used E-6000 to glue the eye to the visor.


Now I moved onto the easy stuff: making Leela's bracer and boots. I used craft foam painted with acrylics for the bracer. For the boots, I hot glued gray fabric to an old pair of rain boots and painted details on with black fabric paint.


One of the fun things about Leela is that not only is she a bad ass orphaned space captain, but she wears all kinds of outfits! So, the possibilities are endless with her. I had fun learning about wig construction and tinkering around with how to get the eye done. Challenging but rewarding. I didn't even end up watching all of Futurama before I was done making the whole thing, it was so easy!
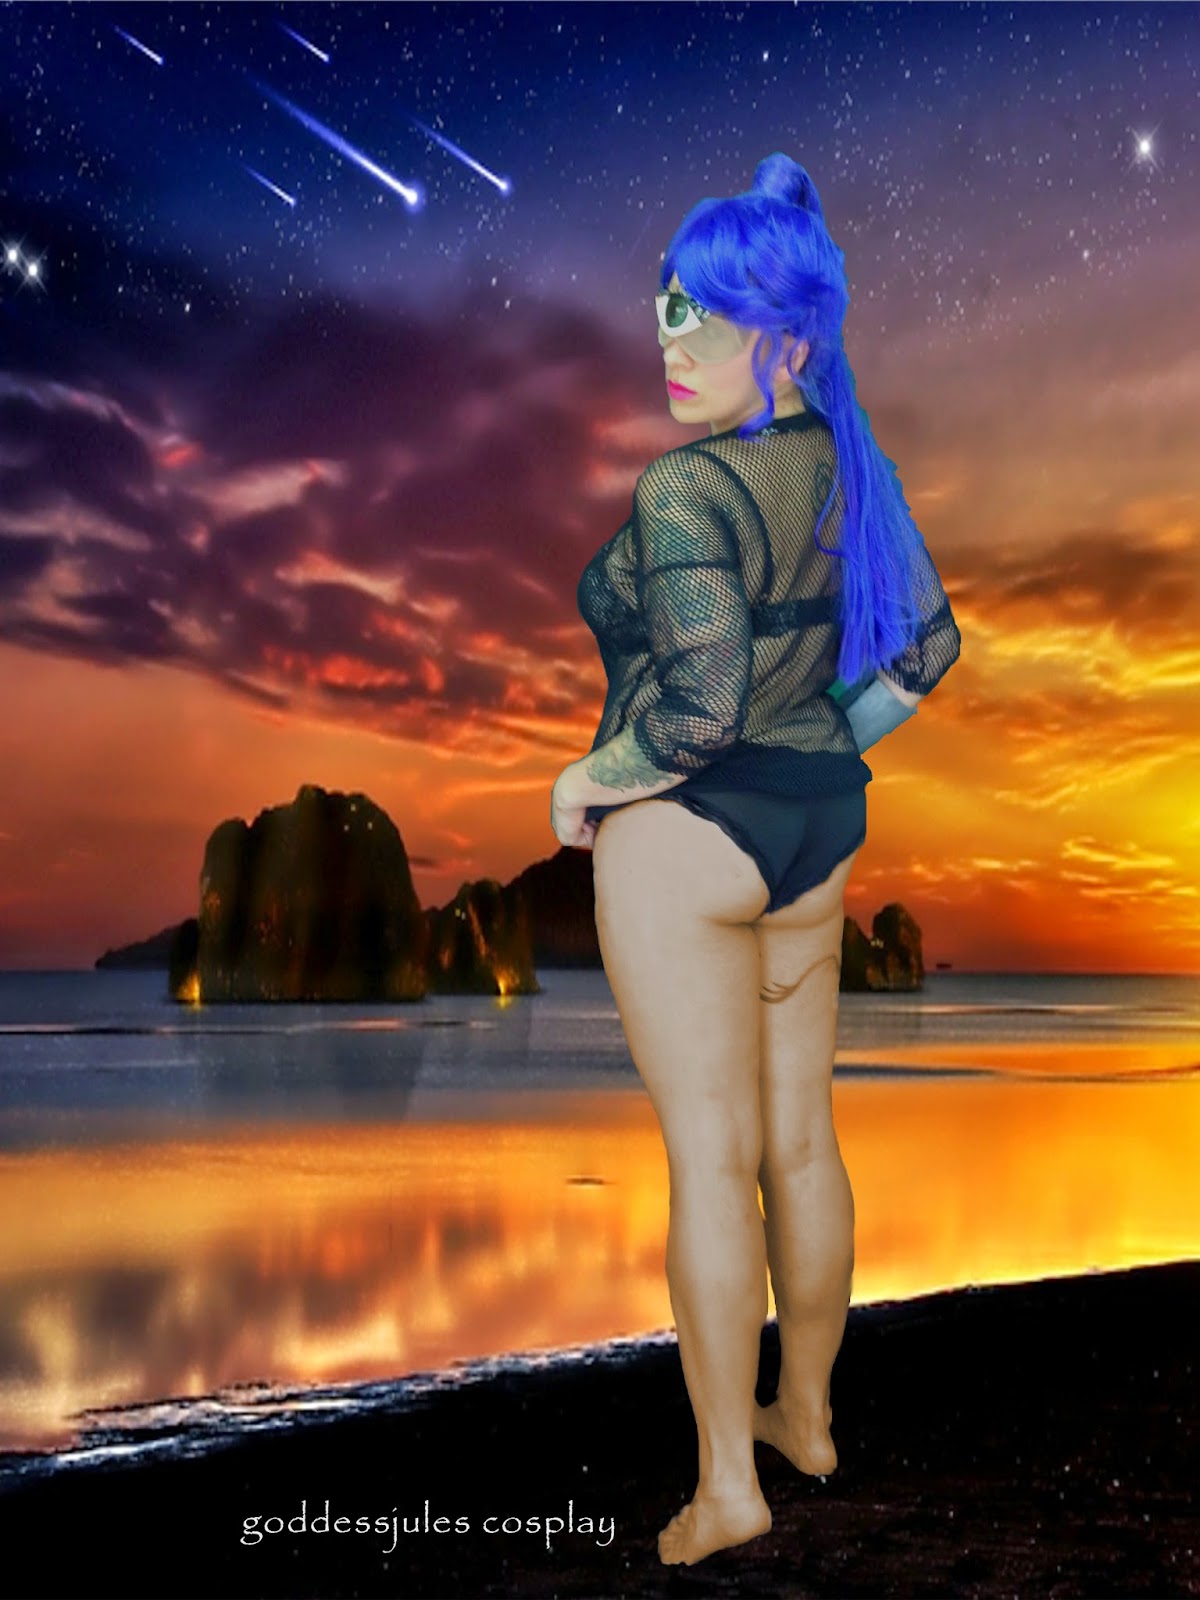
Now it's time for some of Leela's Glamour shots!


No comments:
Post a Comment